Sourdough Baking at Home Made Simple
Are you tired of buying expensive and mediocre sourdough bread from your local bakery? Have you ever wanted to try baking your own sourdough bread, but were intimidated by the complicated process? Look no further, because in this article we will show you how to make sourdough baking at home simple and rewarding. Whether you are a seasoned bread maker or a novice in the kitchen, with a few key tips and tricks, you can easily make your own delicious sourdough bread right from the comfort of your own home.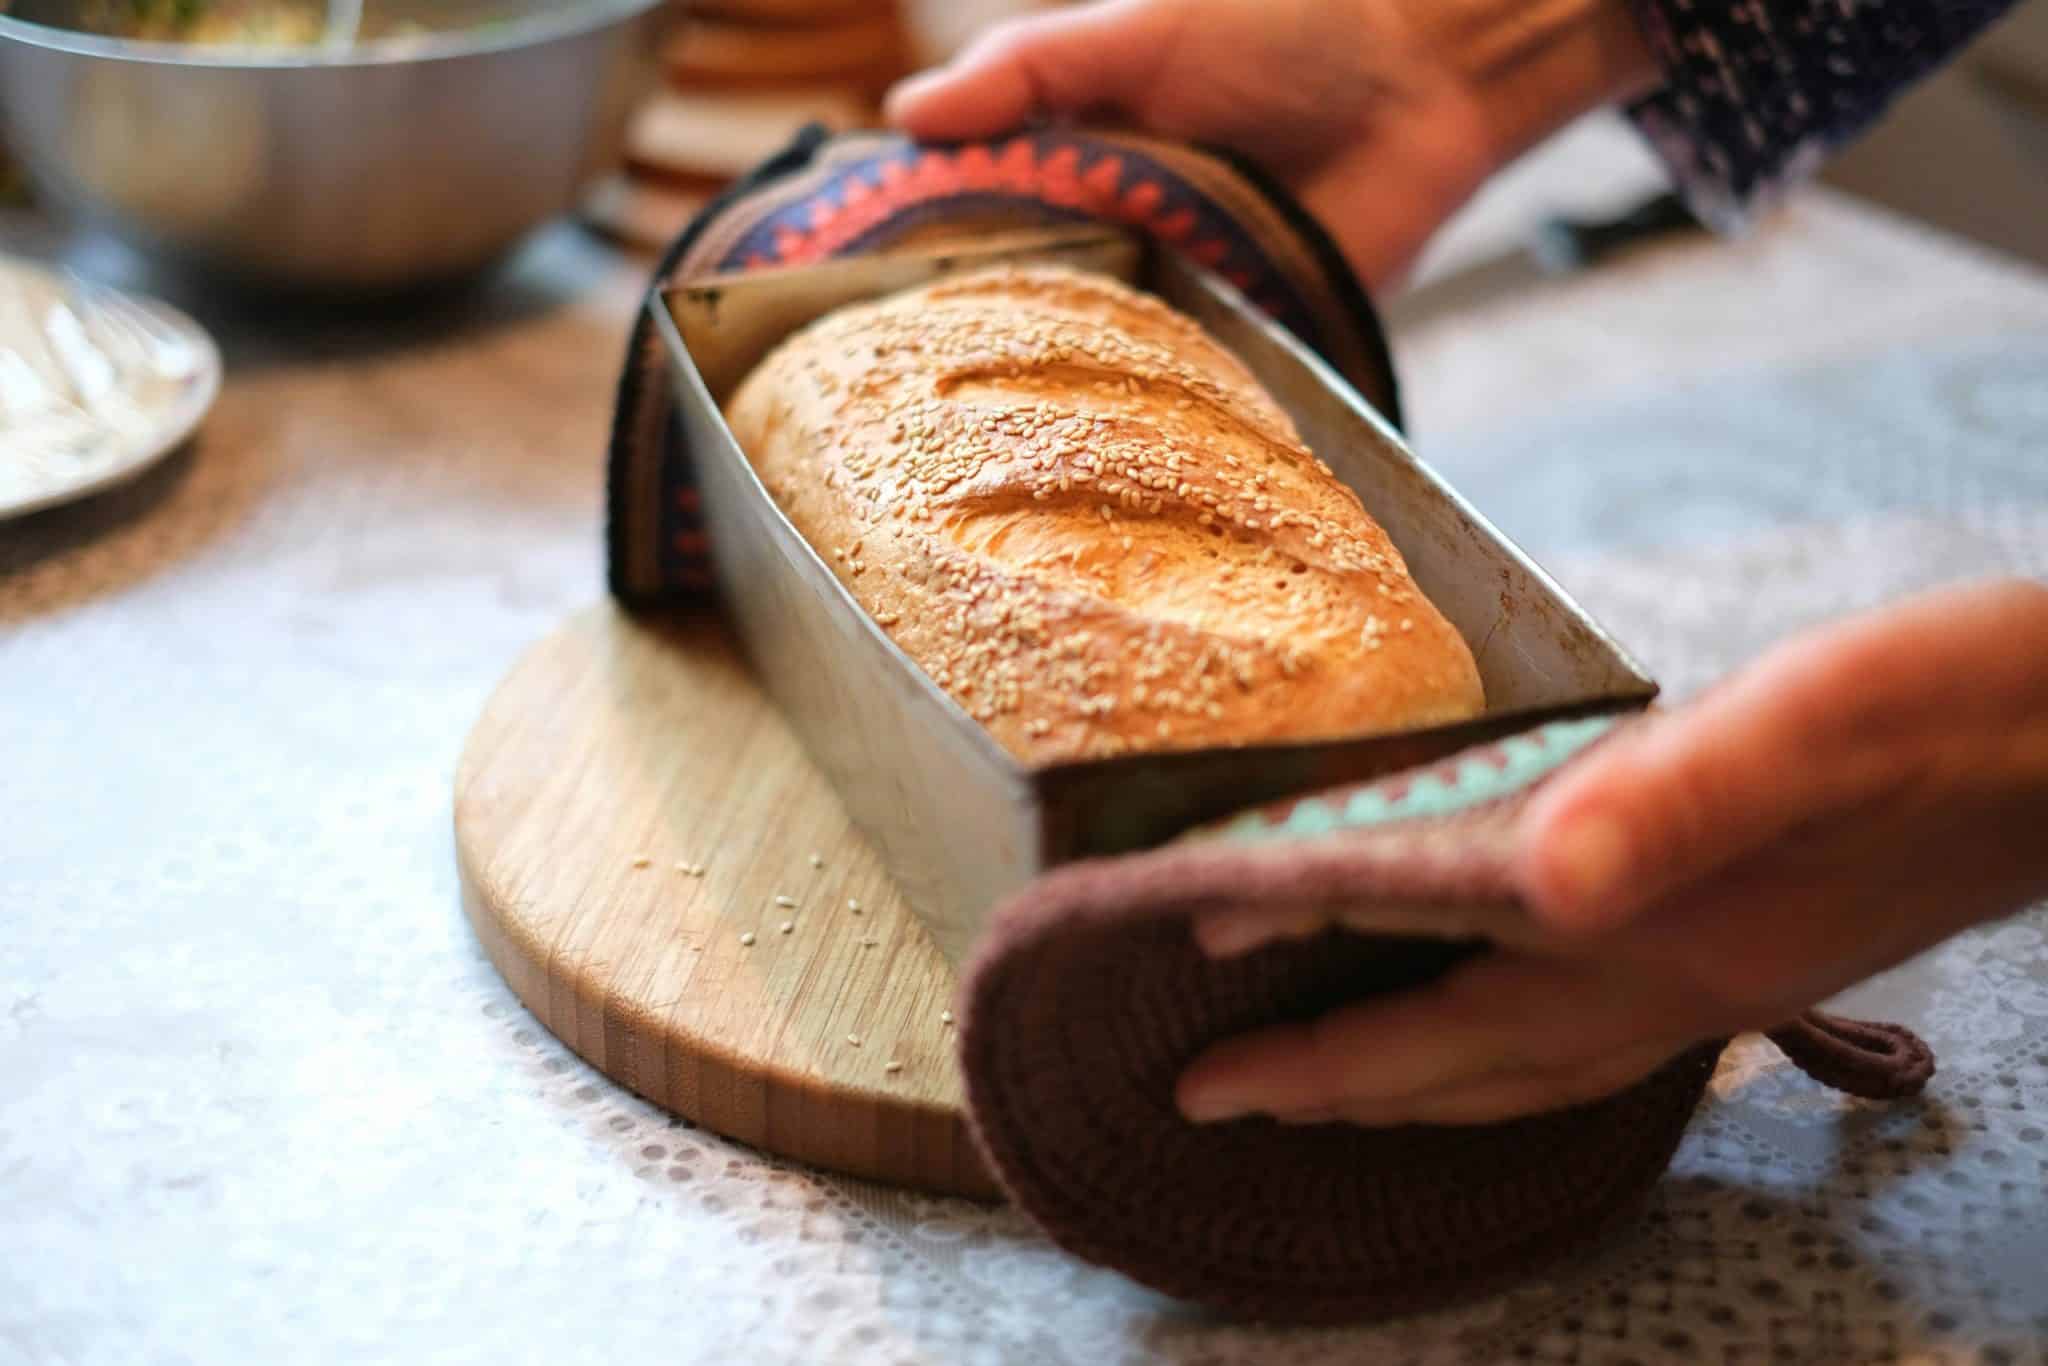
The Basics of Sourdough Baking
Sourdough bread has been around for thousands of years and is known for its tangy flavor, chewy texture, and crispy crust. Made with just flour, water, and salt, sourdough bread gets its unique taste and texture from the wild yeast and bacteria present in the air and on the grains. Unlike traditional yeast bread, sourdough bread does not require any commercial yeast, making it a healthier option for those on a yeast-free diet. With patience and the right technique, anyone can master the art of sourdough baking.
Creating and Maintaining a Sourdough Starter
The key to successful sourdough baking is a strong and lively sourdough starter. This is a mixture of flour and water that has been fermented by the wild yeast and bacteria. Creating and maintaining a sourdough starter is fairly simple and only requires a few minutes a day. Start by mixing equal parts of flour and water in a jar and letting it sit at room temperature. Each day, discard half of the mixture and add in fresh flour and water. After a few days, you should start to see bubbles forming, which means your starter is alive and active. Keep feeding your starter daily and it will be ready for use in about a week.
Preparing the Dough
Once your sourdough starter is ready, it’s time to make the dough. Mix together your starter, flour, water, and a pinch of salt until it forms a shaggy dough. Let it rest for about 30 minutes, then add a small amount of water and knead until it becomes smooth and elastic. This process, known as autolyse, allows the flour to fully absorb the water, resulting in a better texture for your bread.
Baking Your Sourdough Bread
Now comes the most exciting part – baking your sourdough bread. Preheat your oven to 450°F and place a Dutch oven or any heavy, lidded pot inside to heat up. Once the pot is hot, carefully place the dough into it and make a few shallow cuts on the top. This will allow the bread to expand while baking without cracking. Cover the pot and bake for 30 minutes, then remove the lid and bake for an additional 15 minutes until golden brown and crusty.
Troubleshooting Common Issues
Sourdough baking can seem daunting at first, but with practice, you will become a pro in no time. Here are some common issues and how to troubleshoot them:
My starter is not rising.
If your starter is not rising, it could be because it’s not warm enough. Yeast and bacteria thrive in warm temperatures, so try placing your starter in a warm spot or next to a lightbulb to help it ferment faster.
My dough is too sticky.
Adding too much water can result in a sticky dough. To fix this, add a little bit of flour at a time until the dough becomes easier to handle. Keep in mind that the humidity and temperature in your kitchen can also affect the consistency of your dough.
My bread is too dense.
If your bread turns out dense, it could be because you didn’t let the dough rise enough. Make sure to give the dough enough time to double in size before shaping and baking it. You can also try adding a little more water to the dough next time.
In Conclusion
With these simple steps and some practice, you can easily make delicious sourdough bread at home. Don’t be discouraged if your first few loaves don’t come out perfect – baking is all about trial and error. Have fun experimenting with different types of flour and flavor combinations to find the perfect sourdough bread recipe for you. Happy baking!